
-
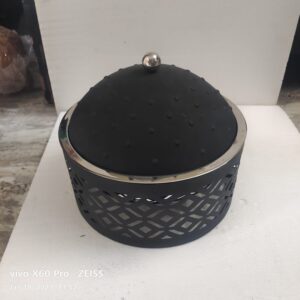
Casserole
$40.00 Add to cart -
Casserole
$47.00 Add to cart -
Casserole
$52.00 Add to cart -
Sale!
Casserole
Original price was: $80.00.$40.00Current price is: $40.00. Add to cart -
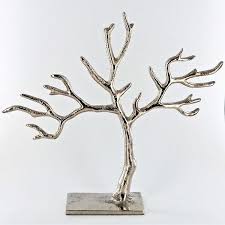
Sculpture
$18.00 Add to cart -
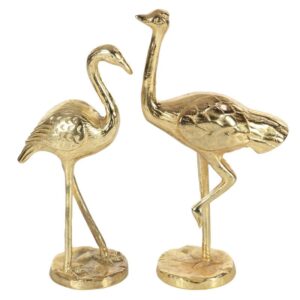
Sale!

Sculpture
Original price was: $49.00.$30.00Current price is: $30.00. Add to cart -
Sale!
Sculpture
Original price was: $60.00.$35.00Current price is: $35.00. Add to cart